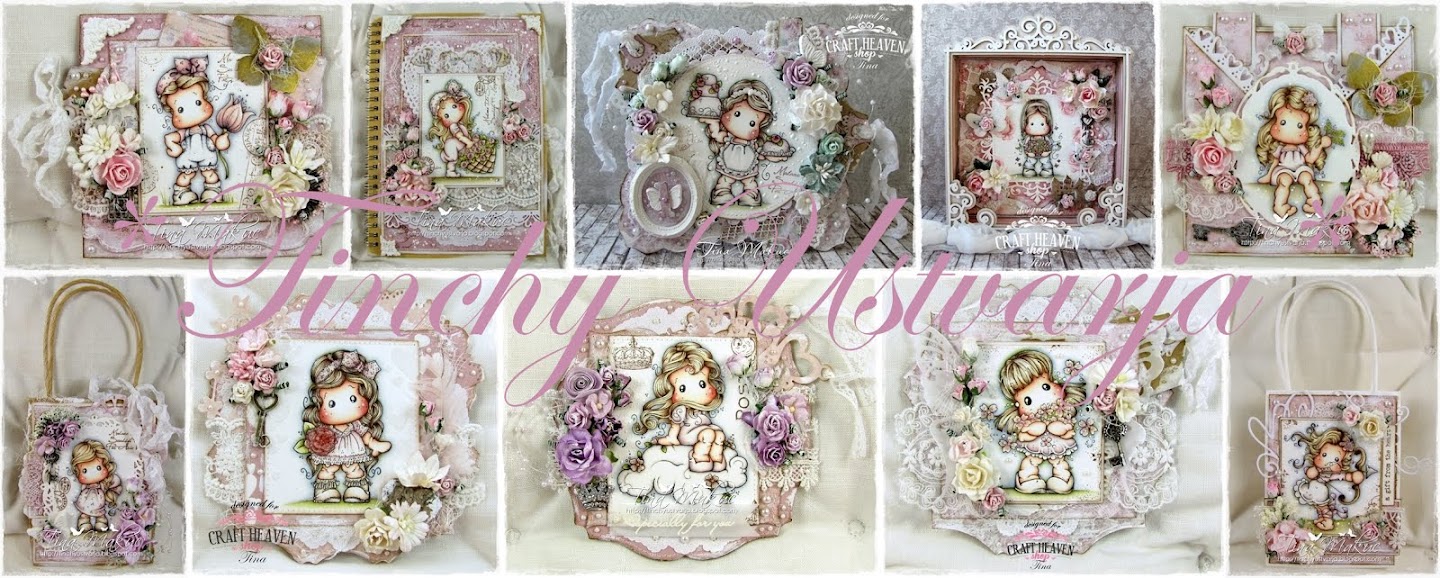

Hey you!
A promise is a debt so today I'm back with another project for the
Craft Heaven Shop Inspirational Blog..
Craft Heaven Shop Inspirational Blog..
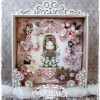
The theme for this week is Every Moment Matters and I made a precious little gift for a girl that is celebrating her 1st Birthday..

For the card's base I chose a beautiful GoKreate die..
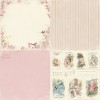
The papers are all Maja Design of course and I mixed a few different paper collections on here..
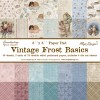
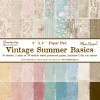
I used the Vintage Summer Basics and Vintage Frost Basics 6x6 Paper Pads and two 12x12 sheets from the Vintage Baby Collection..

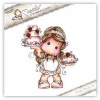
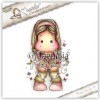
Here is my sweet Rose Cake Tilda..
I'm absolutely in love with this image from the BOHO Collection 2015!
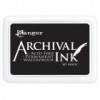
I stamped her with Jet Black Archival Ink and coloured with Distress Inks..
I don't know if you are following my work on Facebook too but if you are I'm sure you saw a video I posted the other day on how to add all those accents around the image..
The video is a total disaster but at least you can see that sometimes things can go really wrong but everything turns out for the best in the end..
Just Never Ever Give Up! LOL!

One of the Magnolia Doohickeys I use the most is the amazing Tilda Tag die..
I used some kraft paper for that and I stamped all over the two tags with the same Magnolia stamp sets I used around the image..
They are called Postcard and New York..
There's also a Kort&Godt postmark there..
I used Memento Rich Cocoa for those and did some second generation stamping..
Then I tied some fab white Vintage Seam Binding on both of them..

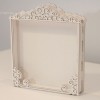
I love playing with molds so I made this little frame and some butterflies..
The number 1 is cut with the Tim Holtz Alterations - Vintage Market Alphabet..
The Circles and Scalloped Circles I used to cut out the image are from Spellbinders..

There's a doily behind the image and some Scrapiniec Chipboard to add that extra little something..
I used many many half-pearls and I mixed several colours this time..
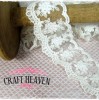
The fabulous Lace Fleur is peeking out of there and I placed one of the stunning edge bands of the Maja papers on top of that..
I like to put some Cheesecloth here and there for some extra texture and I found some pearl string in my stash so I used that one also..

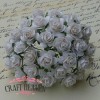
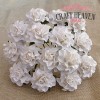
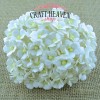
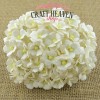
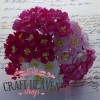
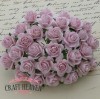
All the flowers on this card are from WOC except for one..
The fluffy one is from Prima..
Yeah.. These flowers are really pretty but too pricey if you ask me..
I used one more Doohickey on here..
The amazing Doily Flowers..
I cut them out of vellum and placed them under the other mulberry paper flowers..
All the paper edges are machine sewn because I feel that none of my projects is completely finished without those..

I tried to catch all that sparkle with my camera..
Frosted Lace Stickles on the cake, dress and hair band..
Stardust Stickles on the roses..
Highlights on the eyes and cheeks made with a Ranger White Opaque Pen..
Frantage sprinkled all around her..
And tons of Gesso all over the card..
Frosted Lace Stickles on the cake, dress and hair band..
Stardust Stickles on the roses..
Highlights on the eyes and cheeks made with a Ranger White Opaque Pen..
Frantage sprinkled all around her..
And tons of Gesso all over the card..

This is the inside..
A circle and a kraft scalloped circle behind that..
Another gorgeous doily..
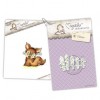
Two balloons from one of the Doohickey Club Magazines..
And a few hearts that actualy belong to a banner I used also..
I'm not showing the upper portion of the opened card because I don't want to reveal the name of the girl..
A circle and a kraft scalloped circle behind that..
Another gorgeous doily..
Two balloons from one of the Doohickey Club Magazines..
And a few hearts that actualy belong to a banner I used also..
I'm not showing the upper portion of the opened card because I don't want to reveal the name of the girl..

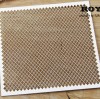
The back of the card..
I like to use my personalized stamp on every single thing I make and that Mini Doily die is just a perfect fit for that..
The border was made with an old Martha Stewart punch that I've been neglecting for too long..

I hope you survived this extremely long post but I'm just sooooo happy to be back!
I missed you all soooo much!
See ya!
Hugs, Tina